
In the realm of online communication, Discord has emerged as a powerful platform that caters to gamers, professionals, and communities alike. With its versatile features and user-friendly interface, Discord has become more than just a voice and text chat app – it’s a hub for collaboration, entertainment, and connection. Whether you’re a seasoned user or a newcomer, these 15 Discord tricks and tips will help you navigate the platform with finesse and make the most of your experience.
Elevating Your Server Experience: Expert Discord Tricks and Tips
As we discussed in our guide on building and managing online communities, creating a well-organized server is essential for fostering engagement. By implementing the strategies outlined in “Unlocking the Power of Discord Online Communities,” you’ve already taken significant steps. Now, let’s delve into expert Discord tricks and tips that will further elevate your server’s functionality and member satisfaction.
1. Server Organization with Categories
Keep your servers tidy by using categories to group related channels together. Right-click on a server and create a category to neatly organize channels for different topics, projects, or interests.
Discord servers can quickly become chaotic as more channels are added. That’s where categories come in handy. Here’s how to organize your servers with ease:
- Step 1: Right-click on your server’s name in the server list on the left-hand side of Discord.
- Step 2: Select “Create Category.”
- Step 3: Name your category to represent the topic or purpose of the channels it will contain.
- Step 4: Drag and drop existing channels into the category.
- Step 5: To keep things even more organized, you can nest categories within categories by dragging them underneath each other.
Creating categories ensures that related channels are grouped together, making it simpler for members to find and engage in discussions relevant to their interests.
2. Customize with Roles and Permissions
Create roles to define user groups and set specific permissions for each role. Whether you’re a server owner or administrator, managing roles ensures that members have appropriate access and privileges.
Roles and permissions are pivotal for maintaining order within your server and providing the right level of access to different members. Here’s how you can set them up:
- Step 1: Go to your server settings by clicking on the server name and selecting “Server Settings.”
- Step 2: Navigate to the “Roles” tab on the left.
- Step 3: Create new roles by clicking the “+” button. Give them meaningful names and assign specific permissions.
- Step 4: Under the “Members” tab, assign roles to individual members by clicking on their name.
- Step 5: Adjust the permissions for each role by toggling on/off the relevant options.
With well-defined roles and permissions, you can ensure that members have the appropriate capabilities while maintaining a secure and organized environment.
3. Embrace Server Folders
If you’re part of numerous servers, server folders are your best friend. Simply drag and drop servers into folders to reduce clutter and improve navigation.
Server folders are a savior if you’re a part of multiple servers. Here’s how to use them effectively:
- Step 1: Click on a server and drag it over another server that you want to group together.
- Step 2: Release the mouse to create a server folder.
- Step 3: Name the folder to represent the theme or purpose of the servers within it.
- Step 4: Drag more servers into the folder as needed.
This feature streamlines your Discord experience by keeping related servers neatly organized and easily accessible.
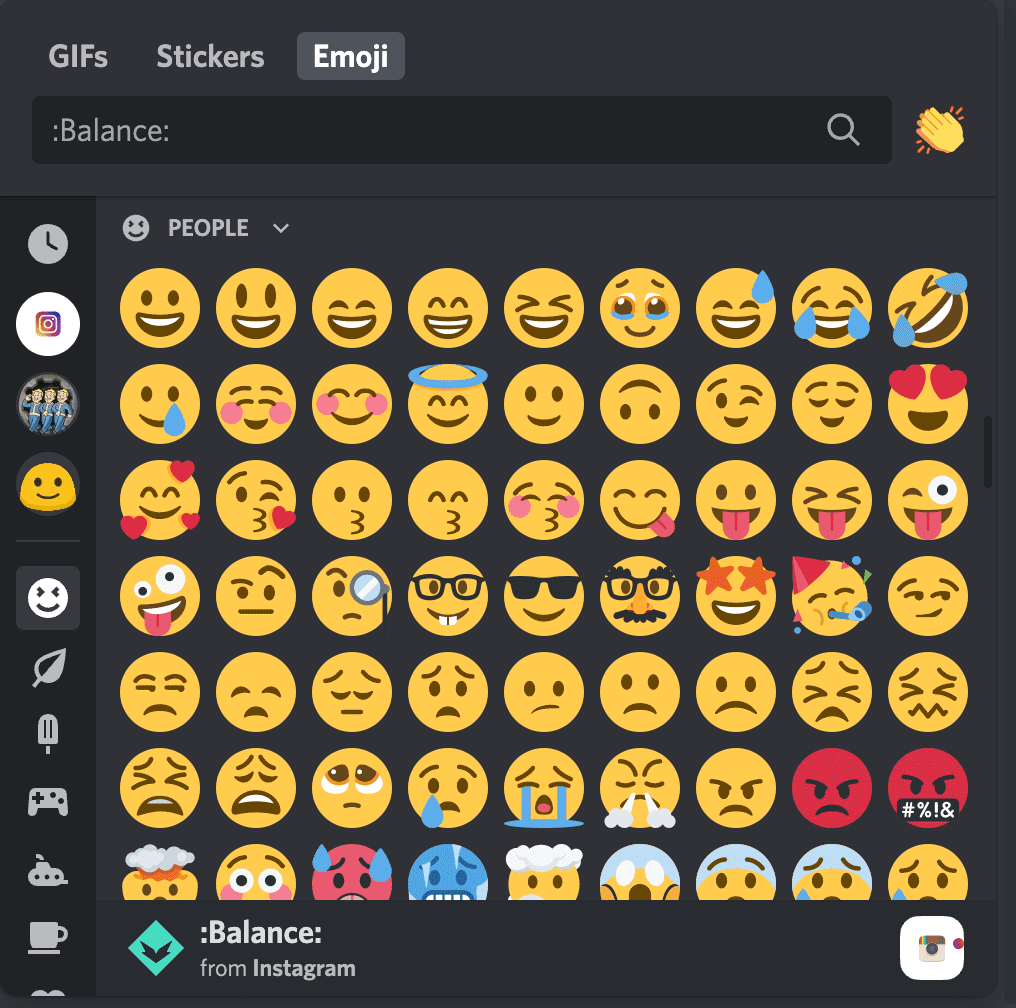
4. Express with Emojis
Emojis add personality to your messages. Use custom emojis or leverage Discord’s vast library to add flair and emotion to your conversations.
Emojis add a dash of personality to your messages. Here’s how to use them:
- Step 1: While typing a message, click on the smiley face icon in the text box.
- Step 2: Browse and select emojis from the menu.
- Step 3: You can also use custom emojis by typing their names (e.g., :heart:) if your server has them.
Emojis are a fun and visual way to convey emotions and reactions within your conversations.
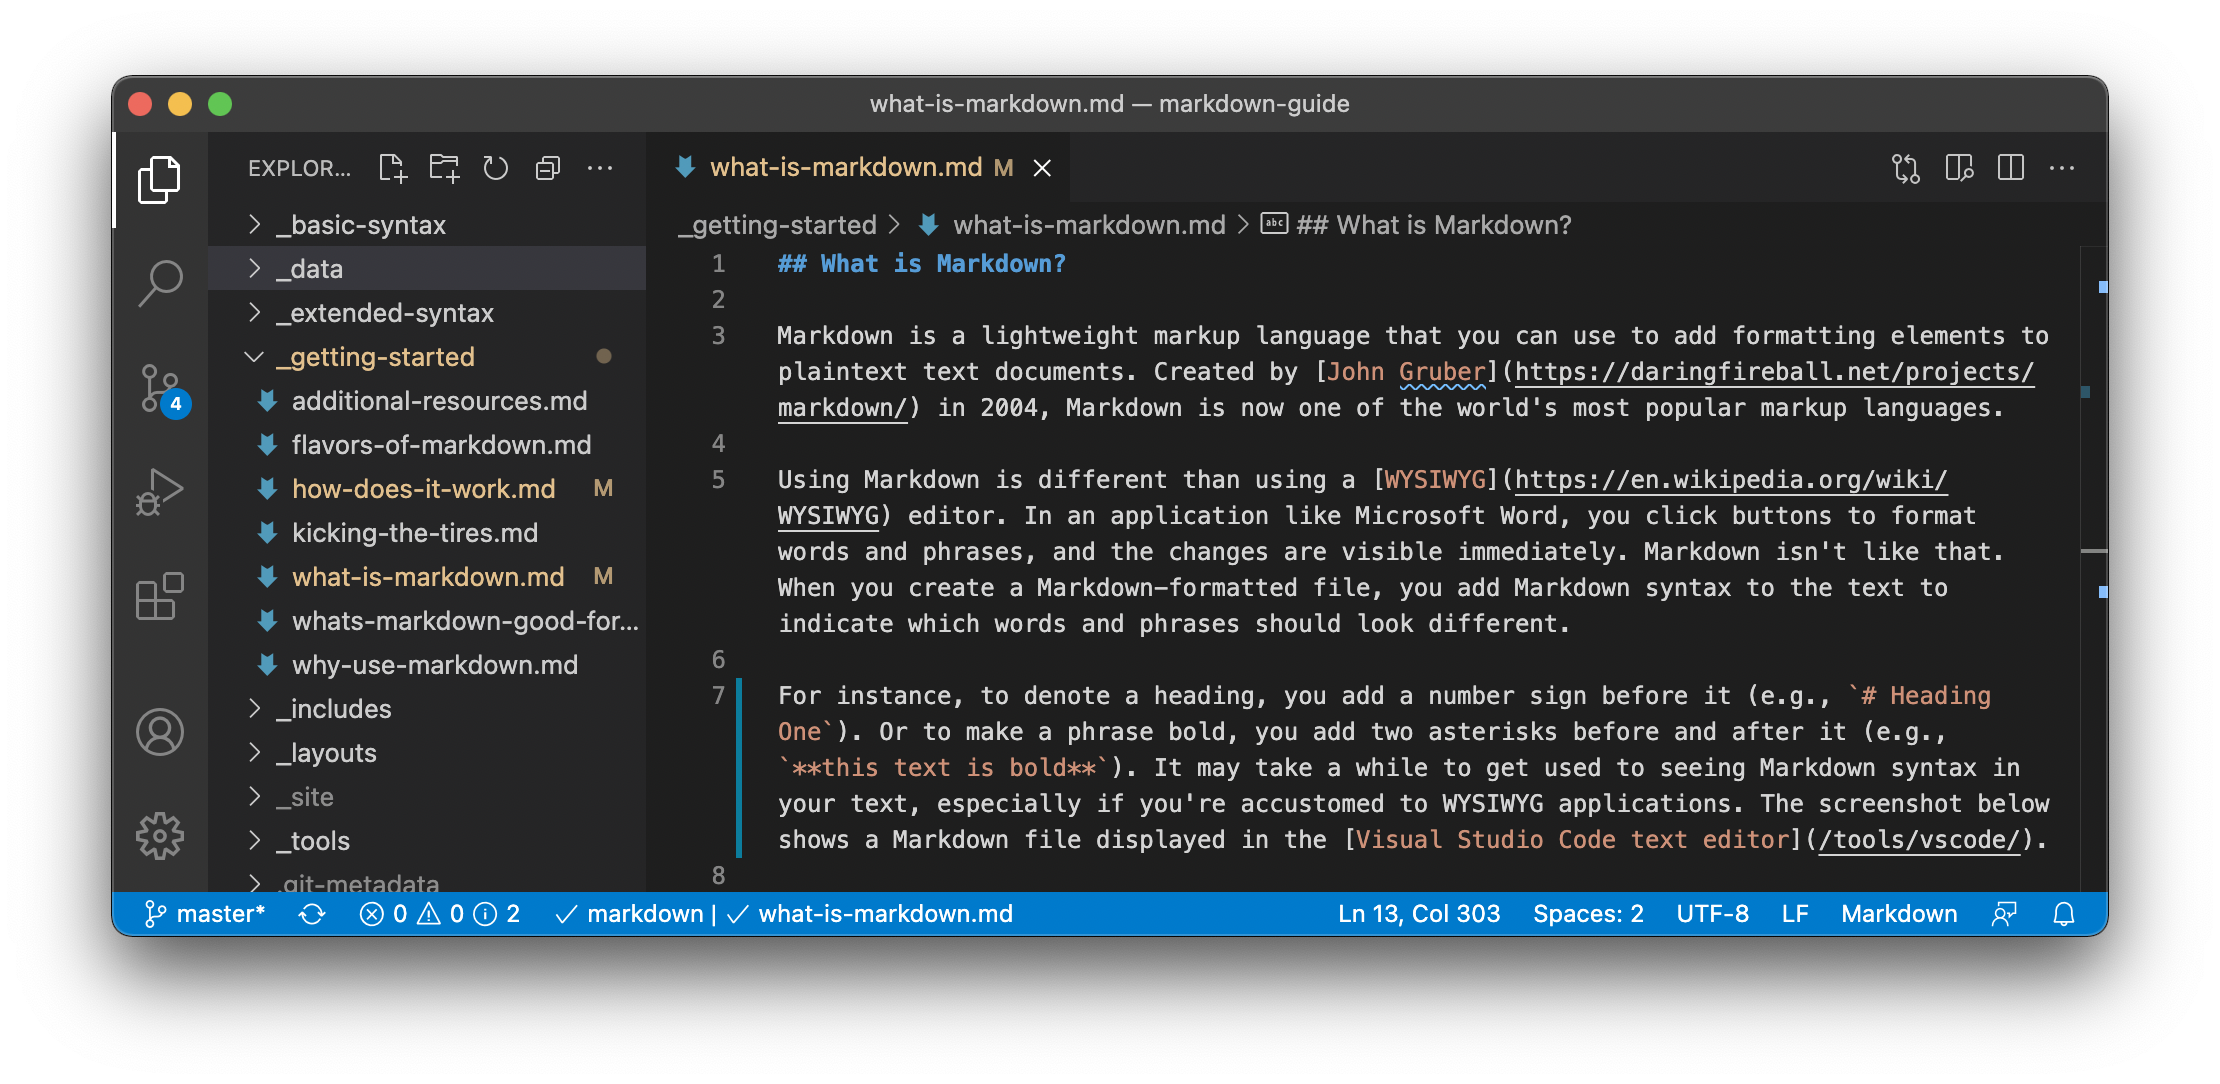
5. Markdown Mastery
Markdown formatting isn’t just for programmers. Use asterisks for italics, double asterisks for bold, backticks for code, and underscores for underline.
Markdown allows you to format your messages creatively. Here’s how to use some basic Markdown formatting:
- Italics: Enclose text in single asterisks or underscores (*italic* or _italic_).
- Bold: Enclose text in double asterisks or underscores (**bold** or __bold__).
- Code: Enclose text in backticks (`code`).
- Underline: Use double underscores before and after the text (__underline__).
These formatting options help you emphasize your messages and make them visually engaging.
6. Rich Presence for Gamers
Gamers, rejoice! Discord’s Rich Presence feature lets you showcase your current game, making it easier to find like-minded players to join your gaming sessions.
Discord’s Rich Presence feature showcases your current game to others. Here’s how to enable it:
- Step 1: Ensure Discord and the game are both open.
- Step 2: Discord will detect the game and display it in your status.
Rich Presence not only lets others know what you’re playing but also invites them to join your gaming session.
7. Quick Switching with Ctrl/Cmd + Arrow
Navigate through your server channels effortlessly using the shortcut Ctrl (Cmd) + Arrow. No more tedious scrolling – just quick jumps to stay engaged.
Navigating through channels can be a breeze with shortcuts:
- Step 1: Click on a server.
- Step 2: Use Ctrl (Cmd) + Left/Right Arrow keys to navigate between channels.
- Step 3: Use Ctrl (Cmd) + Up/Down Arrow keys to move through channels in your list.
These shortcuts save time and keep you engaged with the content that matters most.
8. Personalize with Themes
Discord offers various themes to suit your aesthetic preferences. Access them through User Settings > Appearance and select the one that resonates with you.
Customize Discord’s appearance to match your style:
- Step 1: Go to User Settings (gear icon) > Appearance.
- Step 2: Choose a theme from the options available.
- Step 3: The interface will instantly update to the selected theme.
Select a theme that resonates with your aesthetic preferences for a visually appealing experience.
9. Mute, Deafen, and Push-to-Talk Shortcuts
Become a keyboard ninja by using shortcuts for muting (Ctrl + Shift + M), deafening (Ctrl + Shift + D), and push-to-talk (Ctrl + Shift + P).
Manage your voice settings efficiently with shortcuts:
- Step 1: Press Ctrl + Shift + M to mute/unmute your microphone.
- Step 2: Press Ctrl + Shift + D to deafen/undeafen your audio.
- Step 3: Press Ctrl + Shift + P to enable/disable push-to-talk.
These shortcuts give you quick control over your voice settings during conversations.
10. Server-Specific Emoji Reactions
React uniquely! Use server-specific emojis to add distinctive reactions to messages in different communities.
Add server-specific emojis to reactions with these steps:
- Step 1: Hover over a message you want to react to.
- Step 2: Click the smiley face icon that appears.
- Step 3: Choose an emoji from the server’s collection.
Server-specific emojis allow you to add a unique touch to your reactions.
11. Integrate Bots for Enhanced Functionality
Bots can be incredibly useful. Whether you want to play music, moderate chats, or automate tasks, there’s a bot for almost everything.
Adding bots can amplify your server’s capabilities:
- Step 1: Search for a bot that suits your needs on a bot listing website.
- Step 2: Click on the bot and follow the instructions to invite it to your server.
- Step 3: Configure the bot’s settings using its designated commands.
Bots bring automation and utility to your server, enhancing user experience.
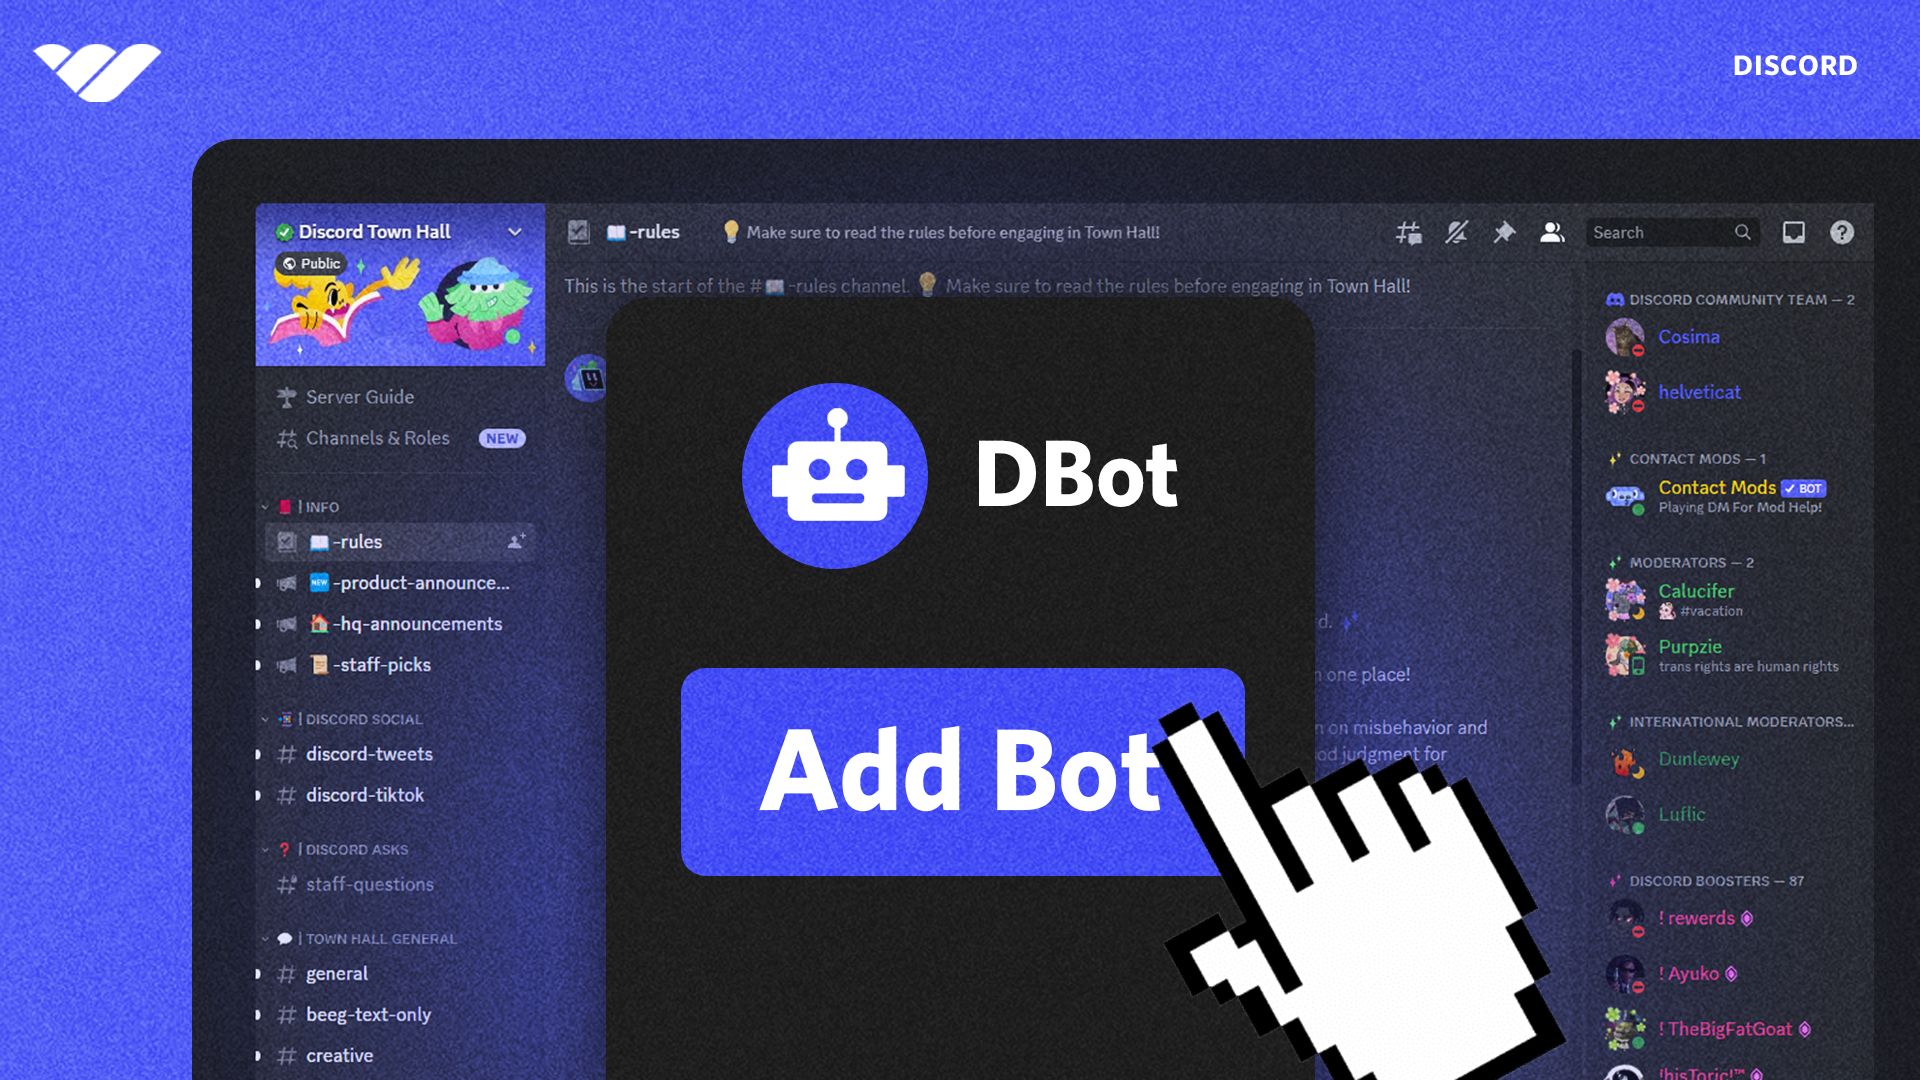
How to Add Bots to a Discord Server: Step-by-Step Guide
12. Direct Message Grouping
Keep your DMs organized by grouping related conversations. Simply drag and drop one DM on top of another to create a group.
Organize your DMs with ease:
- Step 1: Click and hold a DM.
- Step 2: Drag the DM over another one to create a group.
- Step 3: You can add more DMs to the group by dragging them in.
Grouping related DMs keeps your private conversations organized and accessible.
13. Search Smartly
Locate old messages with ease using Discord’s search function. Narrow down results by using keywords, user mentions, or timeframes.
Locate old messages efficiently:
- Step 1: Click on the magnifying glass icon in the top-right corner.
- Step 2: Enter keywords, user mentions, or timeframes to filter results.
- Step 3: Discord will display messages that match your search criteria.
Effective search helps you find the information you need quickly.
14. In-App Notifications Management
Tame the notification beast by customizing notification settings for each server. Right-click on a server’s icon to access notification options.
Customize notification settings for each server:
- Step 1: Right-click on the server’s icon in the server list.
- Step 2: Choose “Notification Settings.”
- Step 3: Adjust notification preferences according to your needs.
Tailoring notifications keeps you informed without overwhelming you with alerts.
15. Video Calls and Screen Sharing
Discord isn’t just about text and voice – it’s also a powerful video conferencing tool. Initiate video calls and screen sharing to collaborate effectively.
Engage in video calls and screen sharing for collaboration:
- Step 1: Create or join a voice channel in a server.
- Step 2: Click on the video camera

Discord continues to evolve, offering an ever-expanding array of features to enhance your online interactions. By mastering these tricks and tips, you’ll elevate your Discord experience, whether you’re coordinating projects, connecting with friends, or immersing yourself in the world of gaming. Stay connected, stay organized, and make the most of this dynamic platform.
Advanced Customization with Discord: Exploring Beyond the Surface
While we’ve covered a plethora of expert Discord tricks and tips to enhance your experience, there’s even more you can explore. For those who are curious about delving into the technical aspects of Discord’s customization, we have a comprehensive guide titled “How to Inspect Element Discord: A Step-by-Step Guide.” This article provides a detailed walkthrough for users interested in understanding the underlying structure of Discord’s interface and making advanced customizations. If you’re ready to take your Discord experience to a whole new level, make sure to check out our step-by-step guide for a deeper dive into the world of customization.
Conclusion
Incorporating the techniques from both this guide on expert Discord tricks and tips and our comprehensive guide on building and managing online communities will undoubtedly result in a dynamic and thriving Discord space. Remember, it’s the combination of effective community management and savvy usage of Discord’s features that truly unlocks the platform’s potential.


